Best Gutters Company & Strong Quality Product Support

Call Us Today!
Call Us Today!

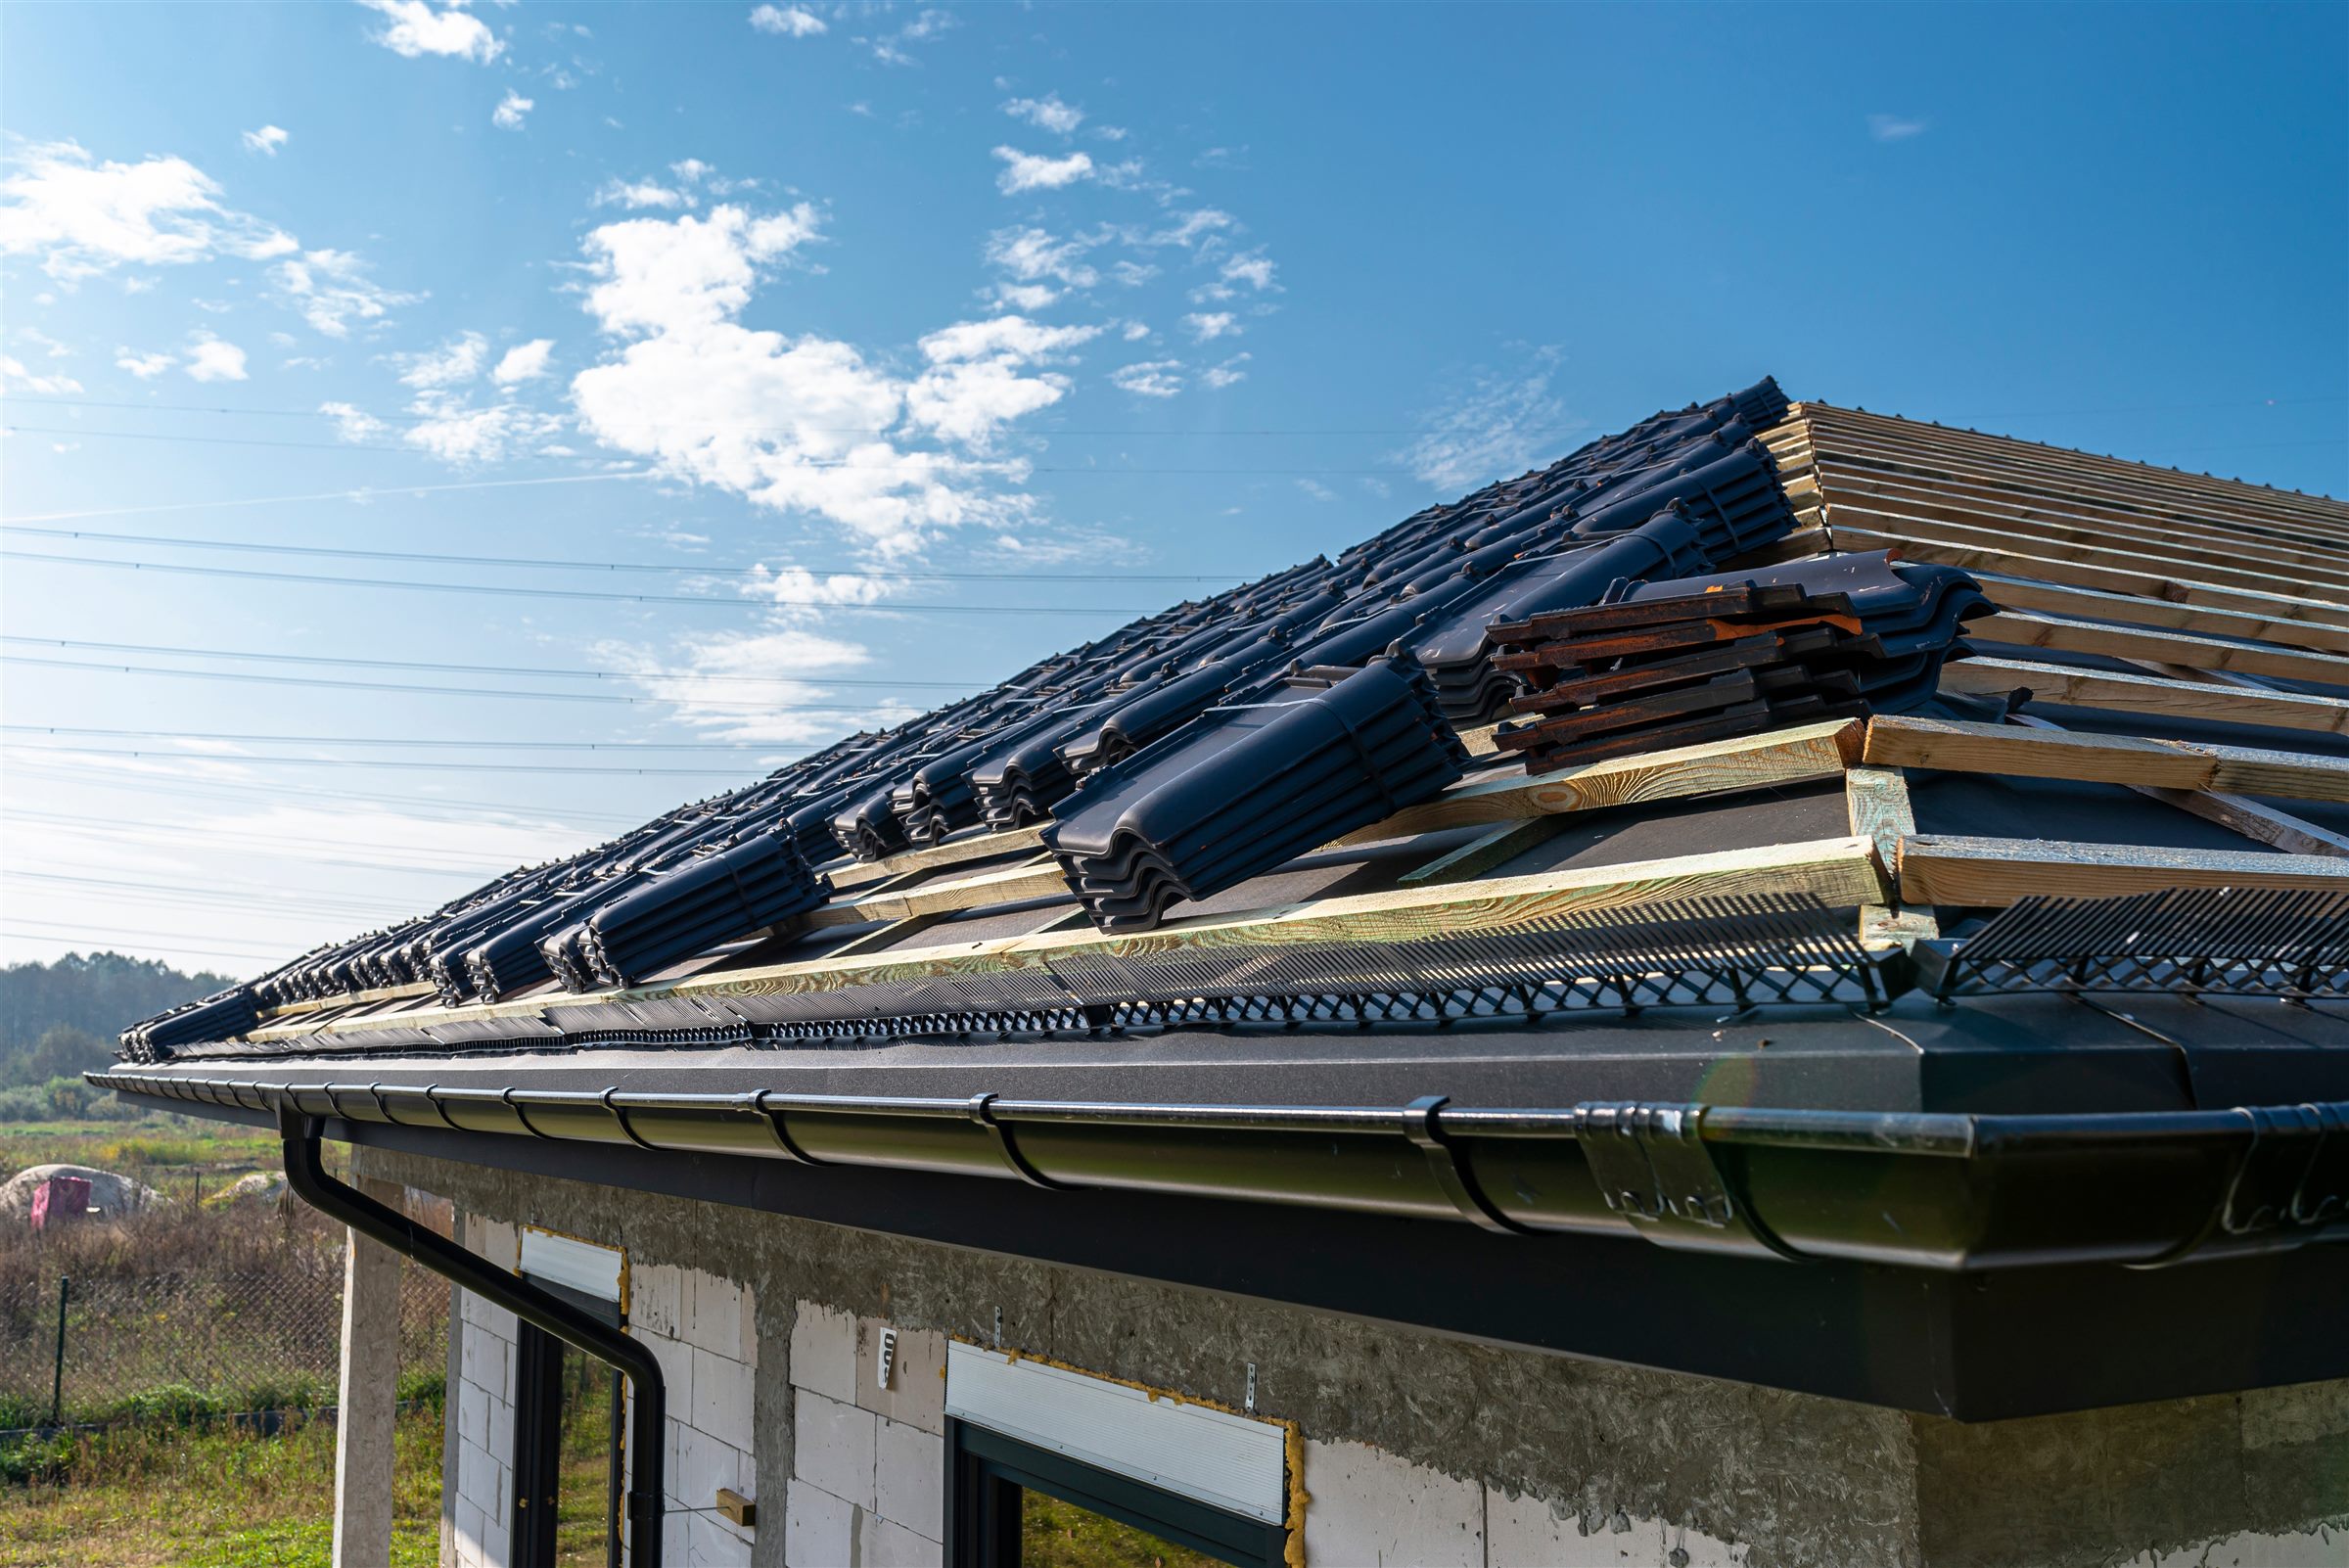
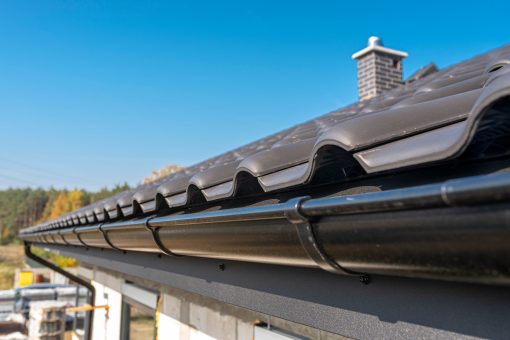
For a New Orleans home getting both a new roof and new gutters, the gutters should normally be installed after the roof, not before it. Roofers typically set the drip edge along the eaves before the shingles, and that edge steers runoff into the trough, so hanging gutters against the finished edge keeps water from tracking behind them. Once the roof is done, prep is simple: clear the drip line, move vehicles, cut back growth, and unlock gates.
At TurnKey Gutters, we find that the jobs running long are almost never the complicated rooflines. They are the ones where the crew spends the first hour moving planters, waiting on a locked gate, or working around a car parked under the drip line.
None of that prep takes a homeowner much time, and all of it is easier to do the weekend before than on the morning itself. A clear perimeter is the single biggest thing you control.
Here is where gutters fit around a roofing job, then what to handle in the order it makes sense to do it. Contact us today to book your installation, and we will confirm what your particular roofline needs.
Install gutters after the roof, not before, when both jobs are planned. Roofers typically set the drip edge along the eaves over the sheathing before the shingles go on. That edge is what steers runoff into the trough, so hanging gutters against the finished edge lets the crew set each run correctly instead of working around an unfinished roof.
On installation day itself, a gutter crew works the full perimeter of the house from ladders, moving elevation by elevation.
Most single-story homes with a straightforward roofline are finished in one day including removal of the old system. Two-story work, heavily segmented rooflines, and any fascia work discovered during tear-off can push a gutter replacement into a second day.
Seamless runs are formed on site from coil stock, so the crew also needs somewhere to stage and run material. Good prep means nobody has to stop working to solve a problem you could have solved on Saturday.
The drip line is where ladders land and where the old system comes down. Anything sitting there gets moved by the crew or worked around, and both cost time.
Removal drops fasteners, sealant fragments, and old metal, while coil stock gets carried the length of the house. Anything you cannot move deserves a cover.
Skip the plastic sheeting on anything living if the forecast is hot. A breathable cover protects a plant from falling debris without cooking it.
On homes with a fascia board, hangers fasten into it behind the gutter, so its condition decides how the new system holds. No climbing is needed: a walk-around with your eyes up tells us most of what matters.
Look for paint that is peeling in sheets, wood that has gone dark or spongy-looking, or a soffit panel that has dropped out of line. Mention anything you spot when you book, because that lets us plan the day around it instead of meeting a surprise at tear-off.
Older spike-and-ferrule systems drive straight through the fascia into the rafter tails, so those removals are slower and more likely to reveal soft wood. Telling us whether the existing system is spiked or hung on hidden hangers helps us specify custom gutter systems for the house.
Growth touching the roof edge sits in exactly the strip the crew has to work along. Clearance at the eave is the goal, not a landscaping project.
As a practical rule of thumb, aim for roughly an arm’s length of clear space above and outside the roof edge on every elevation. Branches resting on the roof, vines climbing the fascia, and shrubs pressed against the wall all need to come back far enough that a ladder can stand and a person can reach past.
If the growth is large enough to need a saw and a plan, that is tree work and not gutter prep, so handle it as its own job well before installation day.
Access problems stop work in a way that clearing does not, because the crew cannot simply work around a locked gate. A few minutes of planning removes the most common delay entirely.
One slow lap around the house the evening before catches what a checklist on paper does not. Walk it looking up, then looking down.
| Area to Check | What Should Be True Before the Crew Arrives |
|---|---|
| The drip line, all elevations | A clear strip along the wall with nothing to move or step over |
| Driveway and walkways | Vehicles out, and room to stage and run long lengths of material |
| Gates and side yards | Unlocked, passable, and free of anything stored against the wall |
| The roof edge | Growth cut back roughly an arm’s length above and outside the eave |
| Indoor-facing items | Pets in, mats and porch textiles brought inside, alarms accounted for |
If everything in that column is already true, the day belongs entirely to the work, and a well-prepared site often lets a gutter installation finish ahead of schedule instead of behind it.
Once the new roof is finished, a clear perimeter, unlocked gates, and an honest note about the fascia are worth more to the schedule than anything else you can do. None of it takes long, and all of it comes back to you as a job that finishes when it was supposed to.
At TurnKey Gutters, we send a confirmation of exactly what your roofline needs cleared before the day, so nothing is left to guesswork. Call us today to schedule your installation and run through the prep list together.
Clear the ground along every roofline, move or cover anything under the eaves, unlock gates, keep pets indoors, and cut back growth touching the roof edge. Mention anything you noticed about the fascia or soffit when you book, since that affects how the day is planned.
You do not need to be present for the whole job, though someone reachable by phone helps. What matters more is that the crew can access every elevation without waiting, so gates should be unlocked and vehicles moved before the day starts.
Most single-story homes with a straightforward roofline finish in one day, including removal of the old system. Two-story work, heavily segmented rooflines, and fascia repairs discovered during tear-off can push the job into a second day. A blocked side gate or a vehicle left under the drip line can also add time.
Pitch each run toward its downspout at about 1/4 inch of fall for every 10 feet, marked with a chalk line on the fascia. Fasten hangers roughly every 24 inches through the fascia and into a rafter tail where possible, and set the gutter so the roof’s drip edge sheds runoff inside the trough rather than behind it.
Removal and disposal of the old system are normally handled by the installing crew and included in the job. Old spike-and-ferrule systems take longer to strip because the fasteners run through the fascia into the rafter tails. Confirm removal is included when you book, since scope varies between companies.
Light clearance trimming at the roof edge is worth doing, since the crew needs roughly an arm’s length of clear space above and outside the eave. Anything large enough to need a saw and a plan is tree work and belongs as its own job, handled well beforehand.
The model residential code does not require gutters on every house. The International Residential Code calls for controlled roof drainage, discharged at least 5 feet from foundation walls or to an approved drainage system, only where expansive or collapsible soils are known to exist, which helps explain why many builders offer gutters as an add-on.
Plan on about five. Common guidance spaces hangers roughly 24 inches apart along the fascia, which works out to about five per 10-foot section, with each screw driven through the fascia and, where possible, into a rafter tail behind it. Your installer’s product instructions set the final spacing, so ask what your quote specifies.
 Turnkey Gutters
 Sep 14, 2026